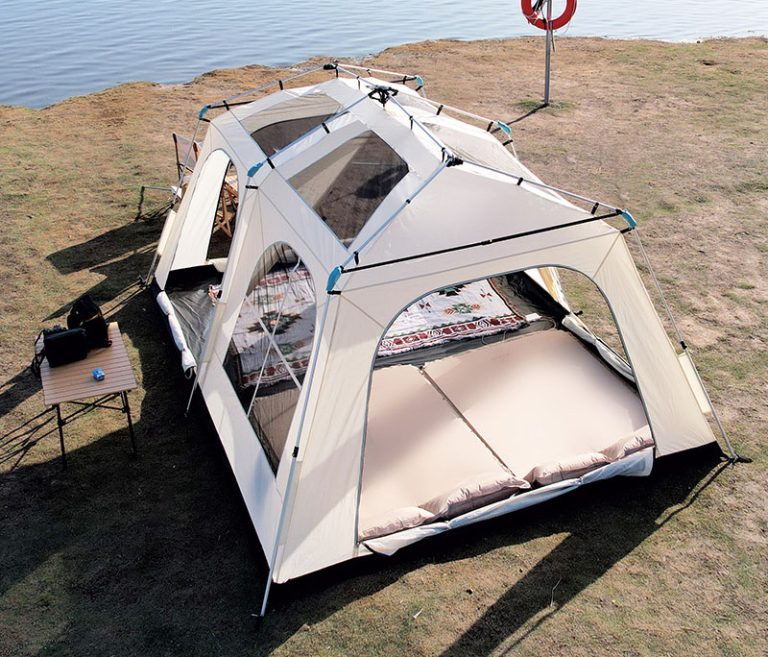
Step-by-Step Guide: setting up a dome tent
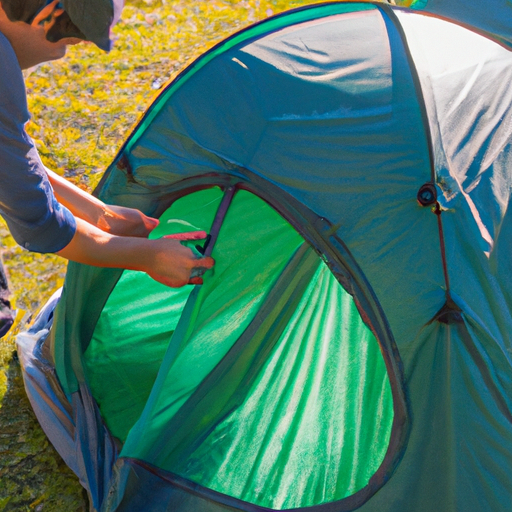
setting up a dome tent can be a daunting task, especially if you have never done it before. However, with a step-by-step guide and a little patience, you can easily set up your dome tent and enjoy a comfortable camping experience. In this article, we will walk you through the process of setting up a dome tent, from choosing the right location to securing the tent in place. The first step in setting up a dome tent is to choose the right location. Look for a flat and level area that is free from rocks, sticks, and other debris that could damage the tent floor. It is also important to consider the direction of the wind and the position of the sun. You want to set up your tent in a spot that provides shade during the hottest parts of the day and protection from strong winds. Once you have found the perfect location, it’s time to unpack your dome tent and lay it out on the ground. Make sure to remove any rocks or sticks that may be underneath the tent. Next, assemble the tent poles according to the manufacturer’s instructions. Most dome tents have color-coded poles that make it easy to match them up with the corresponding sleeves or clips on the tent body.
 After assembling the tent poles, insert them into the sleeves or clips on the tent body. Start with the longer poles and work your way to the shorter ones. Gently flex the poles to create tension and give the tent its shape. Once all the poles are in place, secure them by attaching the pole ends to the grommets or hooks on the tent corners.
With the tent poles securely in place, it’s time to attach the rainfly. The rainfly is a waterproof cover that goes over the tent to protect it from rain and provide additional insulation. Simply drape the rainfly over the tent and secure it using the provided straps or buckles. Make sure the rainfly is taut and covers the entire tent body.


