Table of Contents
Mission Overview of Magellan Spacecraft
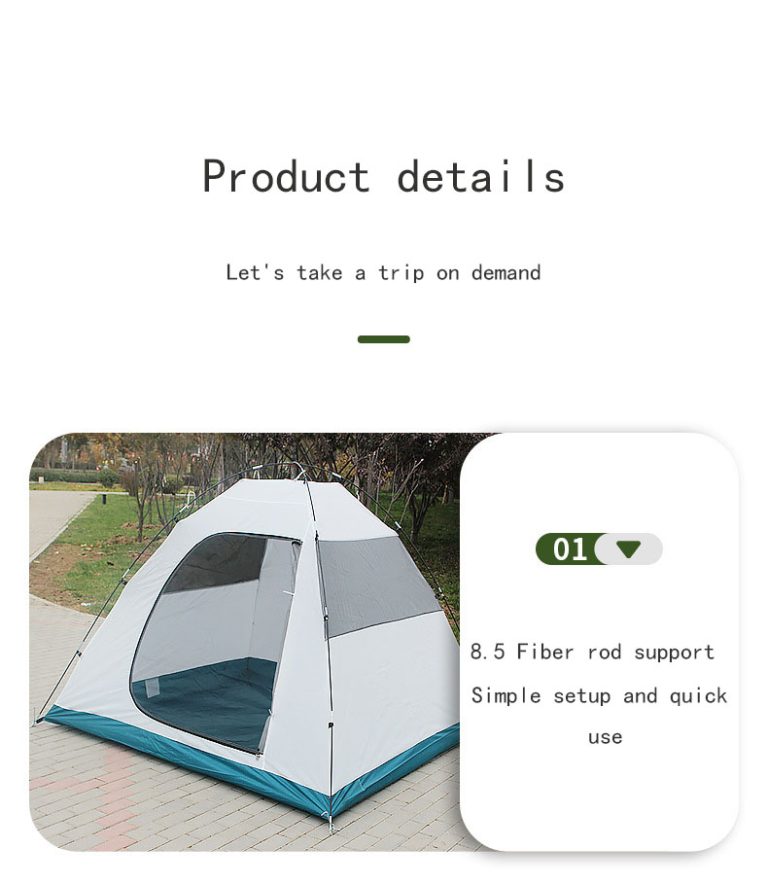
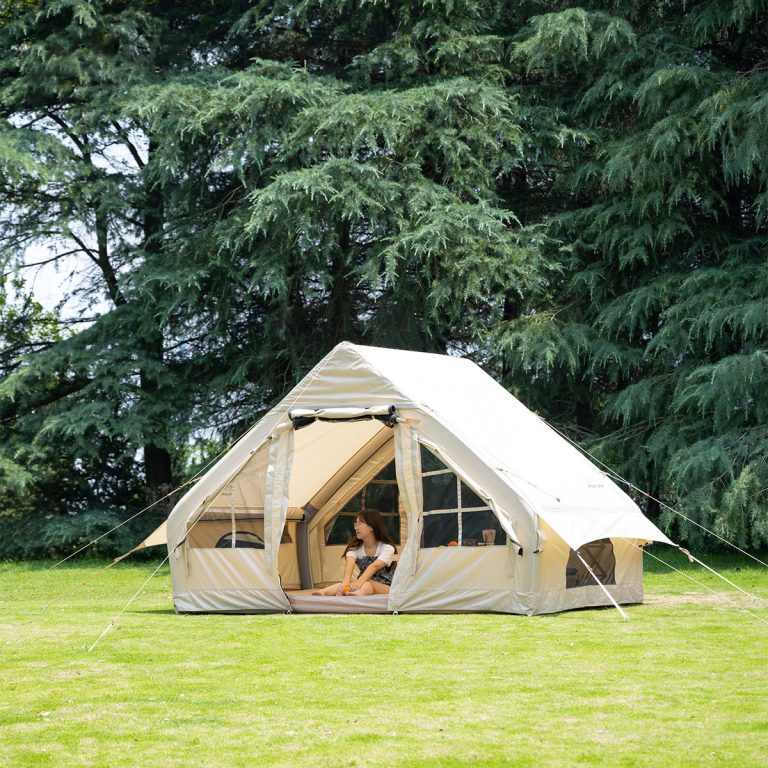
The magellan mission 8p tent setup is a crucial aspect of the overall mission. The Magellan spacecraft is a robotic space probe that was launched by NASA in 1989 with the goal of mapping the surface of Venus. The spacecraft was named after the famous Portuguese explorer Ferdinand Magellan, who was the first person to circumnavigate the globe. The magellan mission 8p tent setup is essential for protecting the spacecraft from the harsh conditions of space and ensuring that it can successfully carry out its mission. Setting up the Magellan Mission 8P tent is a complex process that requires careful planning and coordination. The tent is made up of eight separate panels that must be assembled in a specific order to ensure that they fit together properly. Each panel is made of a lightweight, durable material that can withstand the extreme temperatures and pressures of space. The panels are connected by a series of zippers and Velcro straps that allow them to be securely fastened together.| pyramid tent | canopy tent | Ridge tent | hiking tent |
| dome tent | teepee tent | yurt tent | inflatable tent |
| tunnel tent | ball tent | Park tent | tailgate tent |
Step-by-Step Guide to Setting Up an 8P Tent
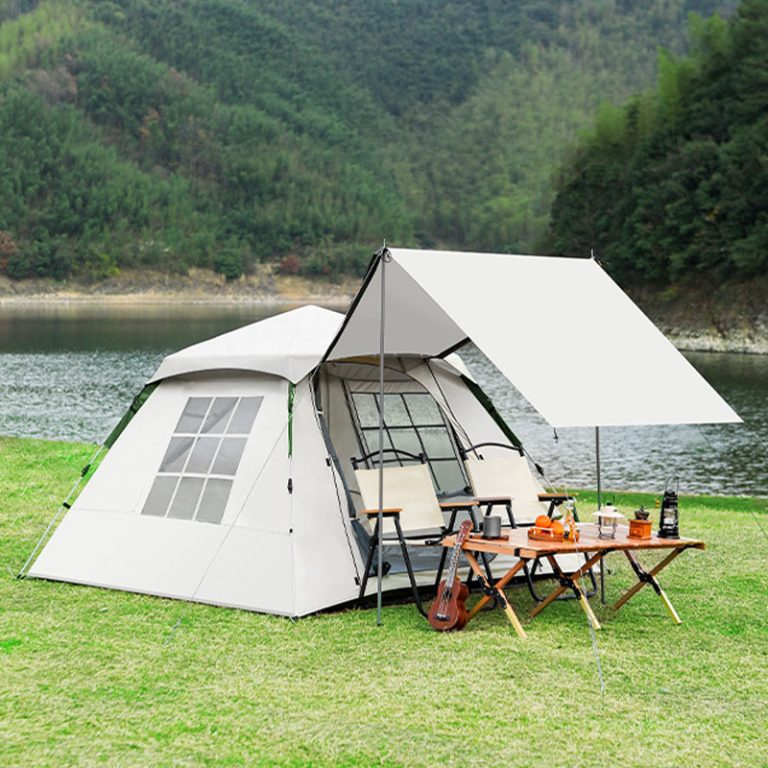
Setting up a tent can be a daunting task, especially if you have a large tent like the Magellan Mission 8P. However, with the right instructions and a little bit of patience, you can have your tent up and ready in no time. In this article, we will provide you with a step-by-step guide on how to set up the Magellan Mission 8P tent. The first step in setting up your tent is to find a suitable location. Look for a flat and level area free of rocks and debris. Once you have found the perfect spot, lay out the tent body and ground tarp. Make sure the tent is facing the direction you want it to be, with the door facing the desired entry point. Next, assemble the tent poles. The Magellan Mission 8P tent comes with color-coded poles to make assembly easier. Match the colors on the poles to the corresponding sleeves on the tent body. Insert the poles into the sleeves, starting with the longest pole for the center of the tent and working your way outwards. Once all the poles are in place, secure them by attaching the clips on the tent body to the poles. Make sure the poles are fully inserted into the clips to ensure a sturdy structure. Once the poles are secure, stake down the tent by hammering the stakes into the ground at a 45-degree angle. Make sure the stakes are firmly in place to prevent the tent from shifting in the wind.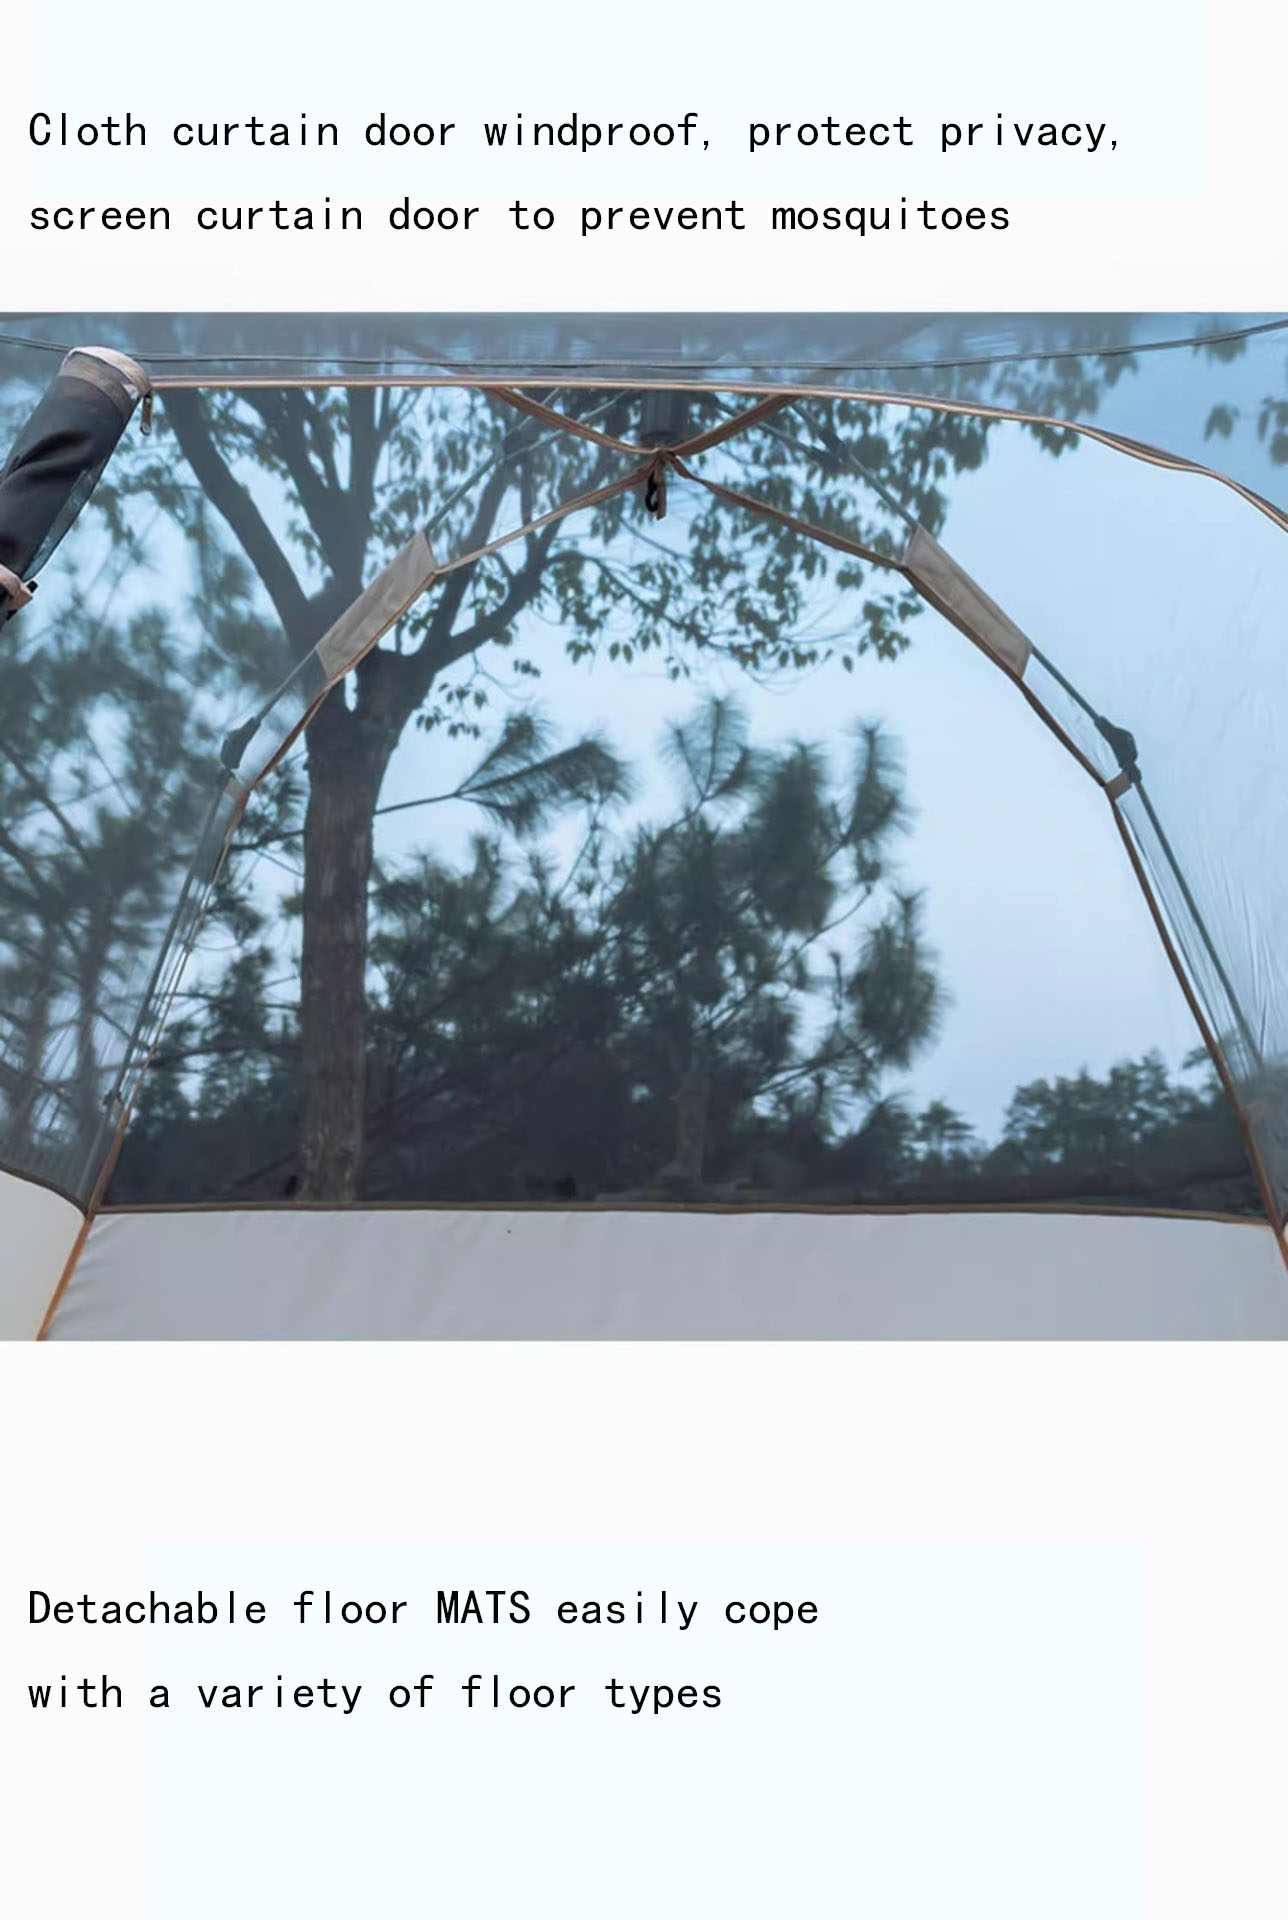 After staking down the tent, attach the rainfly. The rainfly is essential for keeping out rain and providing additional insulation. Place the rainfly over the tent body, making sure it is centered and aligned with the doors and windows. Secure the rainfly by attaching the clips to the poles and staking down the corners.
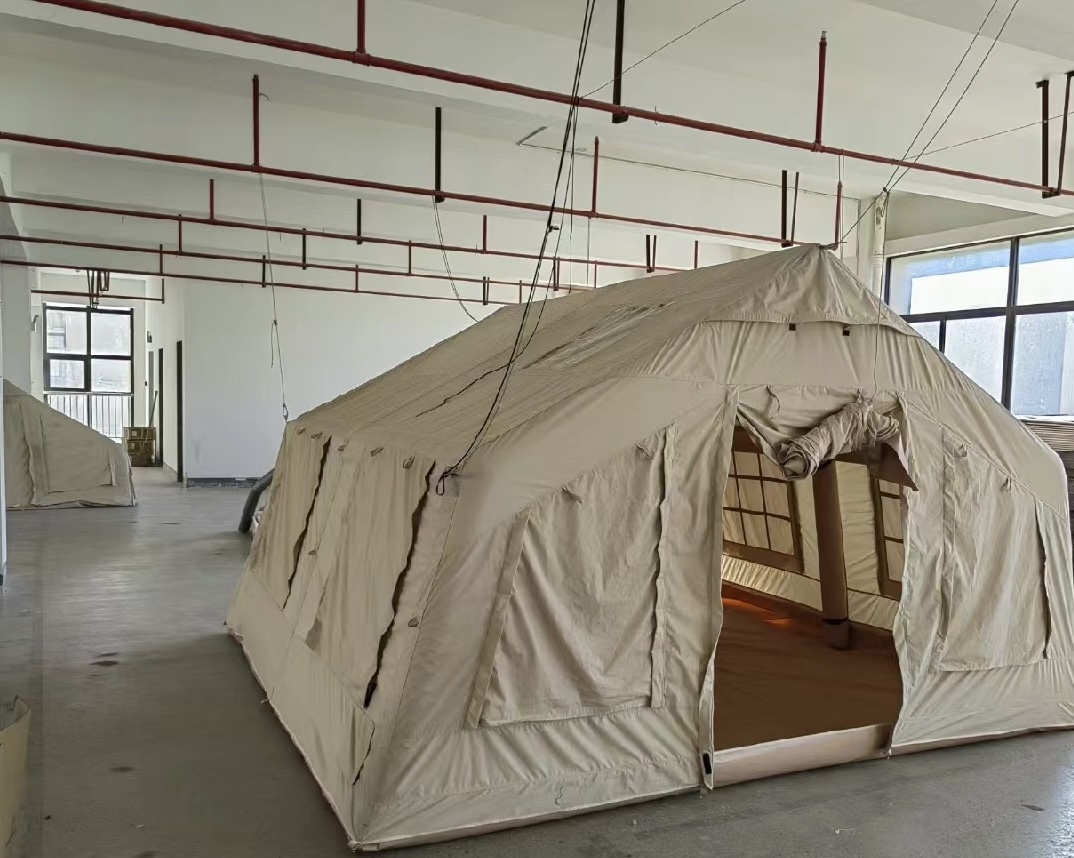
Finally, adjust the tension of the tent by tightening the guy lines. Guy lines are essential for stabilizing the tent in windy conditions. Pull the guy lines taut and stake them down at a 45-degree angle. Make sure the guy lines are evenly tensioned to prevent the tent from leaning to one side.
After staking down the tent, attach the rainfly. The rainfly is essential for keeping out rain and providing additional insulation. Place the rainfly over the tent body, making sure it is centered and aligned with the doors and windows. Secure the rainfly by attaching the clips to the poles and staking down the corners.
Finally, adjust the tension of the tent by tightening the guy lines. Guy lines are essential for stabilizing the tent in windy conditions. Pull the guy lines taut and stake them down at a 45-degree angle. Make sure the guy lines are evenly tensioned to prevent the tent from leaning to one side.
 Congratulations! You have successfully set up your Magellan Mission 8P tent. Now it’s time to enjoy your outdoor adventure. Remember to always follow the manufacturer’s instructions when setting up your tent and practice proper camping etiquette by leaving no trace and respecting nature.
In conclusion, setting up a large tent like the Magellan Mission 8P may seem like a daunting task, but with the right instructions and a little bit of practice, it can be done efficiently. By following the steps outlined in this article, you can have your tent up and ready in no time. So grab your gear, head outdoors, and enjoy the great outdoors in your spacious and comfortable Magellan Mission 8P tent.
Congratulations! You have successfully set up your Magellan Mission 8P tent. Now it’s time to enjoy your outdoor adventure. Remember to always follow the manufacturer’s instructions when setting up your tent and practice proper camping etiquette by leaving no trace and respecting nature.
In conclusion, setting up a large tent like the Magellan Mission 8P may seem like a daunting task, but with the right instructions and a little bit of practice, it can be done efficiently. By following the steps outlined in this article, you can have your tent up and ready in no time. So grab your gear, head outdoors, and enjoy the great outdoors in your spacious and comfortable Magellan Mission 8P tent.