Table of Contents
Top 10 Tips for Setting Up a mountain hardwear dome tent
Setting up a mountain hardwear dome tent can be a daunting task for those who are not familiar with the process. However, with the right knowledge and preparation, it can be a relatively straightforward and enjoyable experience. In this article, we will provide you with the top 10 tips for setting up a mountain hardwear dome tent to ensure a successful camping trip.
First and foremost, before you even begin setting up your tent, it is important to choose a suitable location. Look for a flat and level area free of rocks, roots, and other debris that could potentially damage your tent or make for an uncomfortable sleeping surface. Additionally, consider the direction of the wind and position your tent so that the entrance is facing away from the prevailing wind to minimize drafts.
Once you have found the perfect spot, unpack your tent and lay out all the components to ensure that everything is accounted for. Familiarize yourself with the different parts of the tent, including the poles, rainfly, stakes, and guylines. It may be helpful to practice setting up the tent at home before your camping trip to streamline the process.
When assembling the tent, start by laying out the footprint or ground cloth to protect the bottom of the tent from moisture and abrasions. Next, assemble the poles according to the manufacturer’s instructions and insert them into the corresponding grommets or sleeves on the tent body. Make sure that the poles are securely in place before moving on to the next step.
Once the poles are in place, drape the rainfly over the tent and secure it using the attached buckles or clips. Make sure that the rainfly is taut and properly aligned with the tent body to ensure maximum protection from the elements. If your tent comes with guylines, be sure to stake them out to provide additional stability in windy conditions.
After the rainfly is secured, it is time to stake out the corners of the tent to ensure that it remains in place throughout the night. Use the provided stakes to anchor the tent to the ground, making sure to drive them in at a 45-degree angle for maximum holding power. Additionally, consider using additional stakes and guylines for added security in inclement weather.
Once the tent is fully set up, take a moment to inspect it for any tears, holes, or other damage that may compromise its integrity. Make any necessary repairs or adjustments before loading the tent with your gear and bedding to avoid any last-minute surprises during your camping trip.
Finally, take the time to properly ventilate your tent by opening windows or vents to prevent condensation buildup and ensure a comfortable sleeping environment. Consider using a ground tarp or footprint under your tent to protect it from moisture and prolong its lifespan.
In conclusion, setting up a mountain hardwear dome tent can be a straightforward process with the right knowledge and preparation. By following these top 10 tips, you can ensure a successful camping trip with a sturdy and reliable shelter to call home. Happy camping!
Review of the mountain hardwear dome tent: Pros and Cons
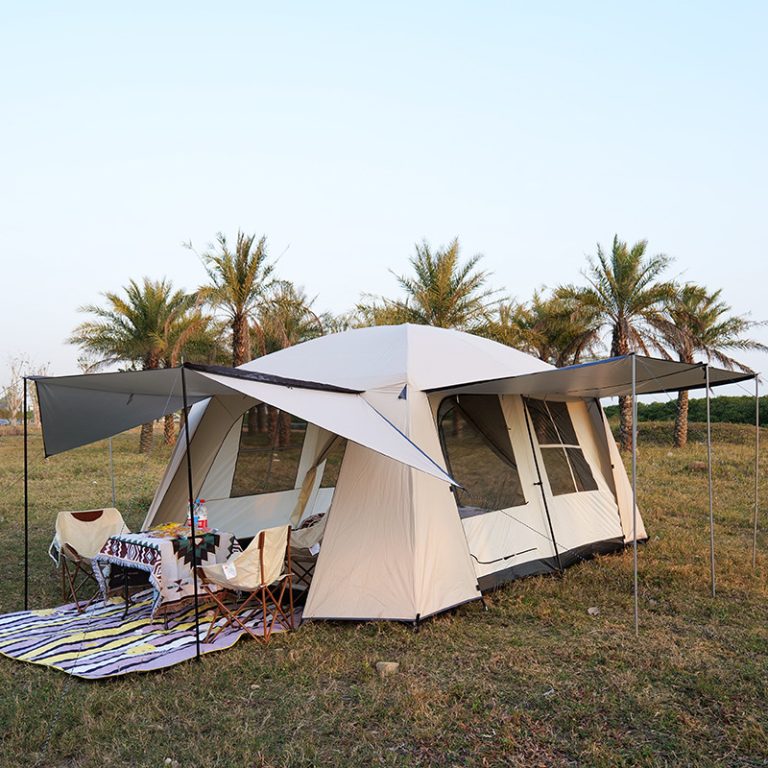
The mountain hardwear dome tent is a popular choice among outdoor enthusiasts looking for a reliable and durable shelter for their camping adventures. This tent is known for its sturdy construction and spacious interior, making it a great option for those who value comfort and protection from the elements.
One of the standout features of the mountain hardwear dome tent is its dome shape, which provides ample headroom and allows for easy movement inside the tent. This design also helps to shed rain and snow, making it a great option for camping in inclement weather. The tent is made from high-quality materials that are designed to withstand the rigors of outdoor use, ensuring that it will last for many camping trips to come.
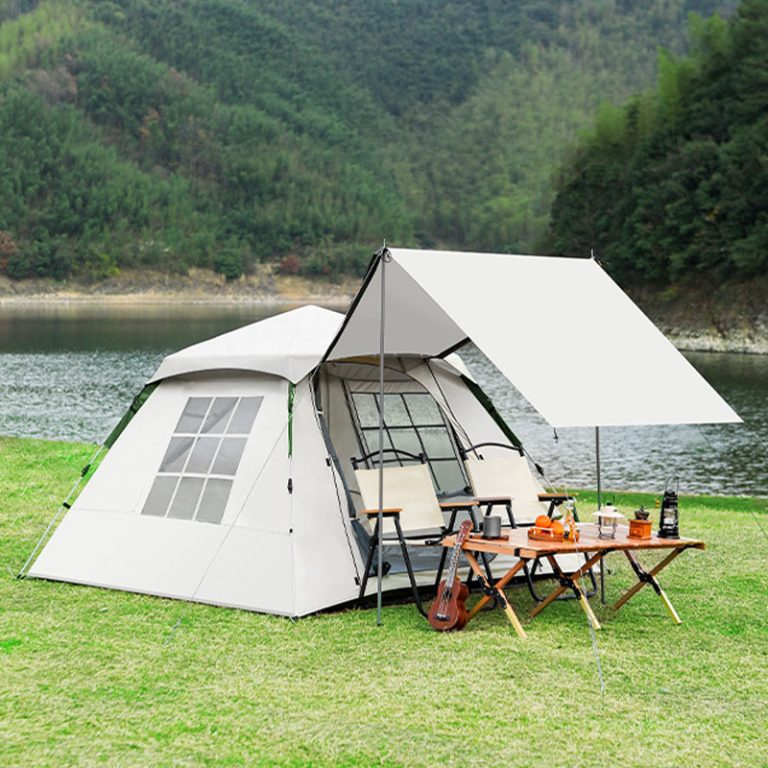
Another advantage of the mountain hardwear dome tent is its easy setup. The tent comes with color-coded poles and clips, making it a breeze to assemble even for those who are not experienced campers. This is a great feature for those who want to spend less time setting up their tent and more time enjoying the great outdoors.
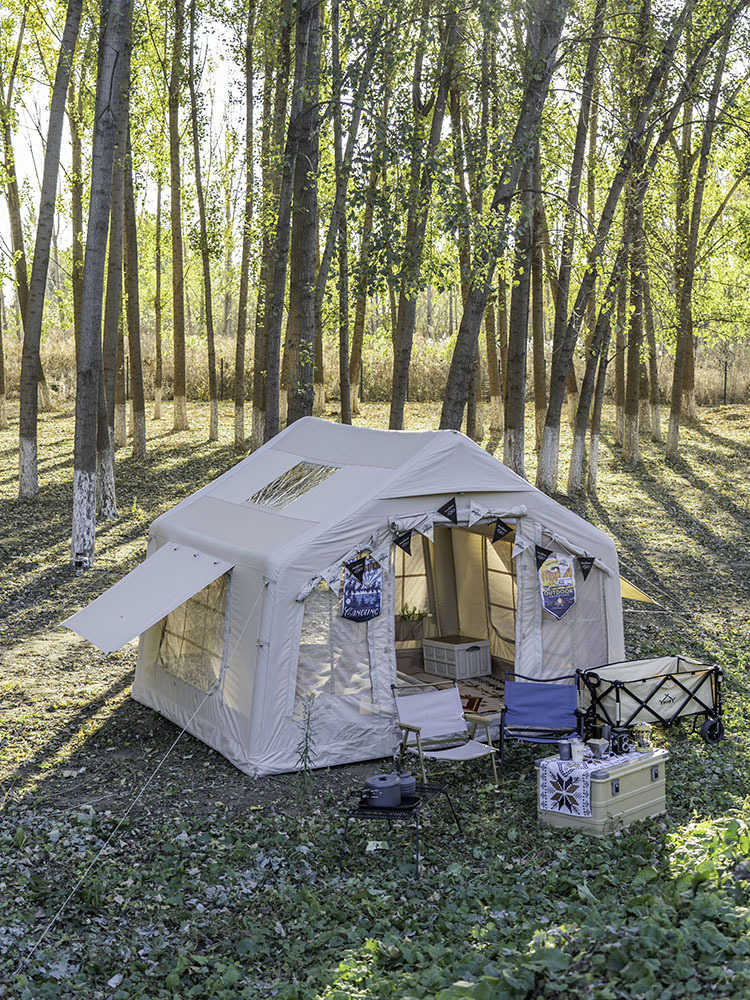
In terms of ventilation, the mountain hardwear dome tent excels. The tent features multiple vents and windows that can be opened or closed to regulate airflow and keep the interior of the tent comfortable. This is especially important on hot summer days when temperatures inside the tent can quickly rise.
Despite its many advantages, the mountain hardwear dome tent does have some drawbacks. One common complaint among users is the weight of the tent. While the sturdy construction of the tent is a plus, it also means that the tent is heavier than some other options on the market. This can be a downside for those who are looking to minimize the weight of their camping gear.
Another potential downside of the mountain hardwear dome tent is its price. This tent is not the most budget-friendly option available, which may be a deterrent for some campers. However, many users find that the quality and durability of the tent justify the higher price tag.
Overall, the mountain hardwear dome tent is a solid choice for campers looking for a reliable and spacious shelter for their outdoor adventures. With its sturdy construction, easy setup, and excellent ventilation, this tent is sure to provide a comfortable and enjoyable camping experience. While it may be on the heavier side and come with a higher price tag, many users find that the benefits of this tent outweigh any potential drawbacks. If you are in the market for a high-quality tent that will last for years to come, the mountain hardwear dome tent is definitely worth considering.