Essential Steps for Setting Up a Vendor Tent
Setting up a vendor tent can be a daunting task, especially if you are new to the world of outdoor events. However, with a little planning and preparation, you can ensure that your tent is set up quickly and efficiently. In this article, we will outline the essential steps for setting up a vendor tent, from choosing the right location to securing it properly.
| pyramid tent | canopy tent | Ridge tent | hiking tent |
| dome tent | teepee tent | yurt tent | inflatable tent |
| tunnel tent | ball tent | Park tent | tailgate tent |
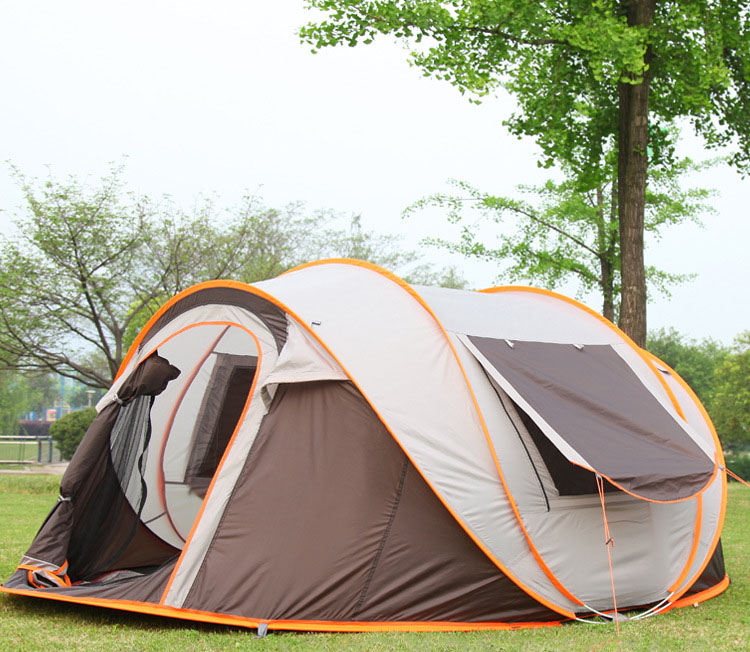
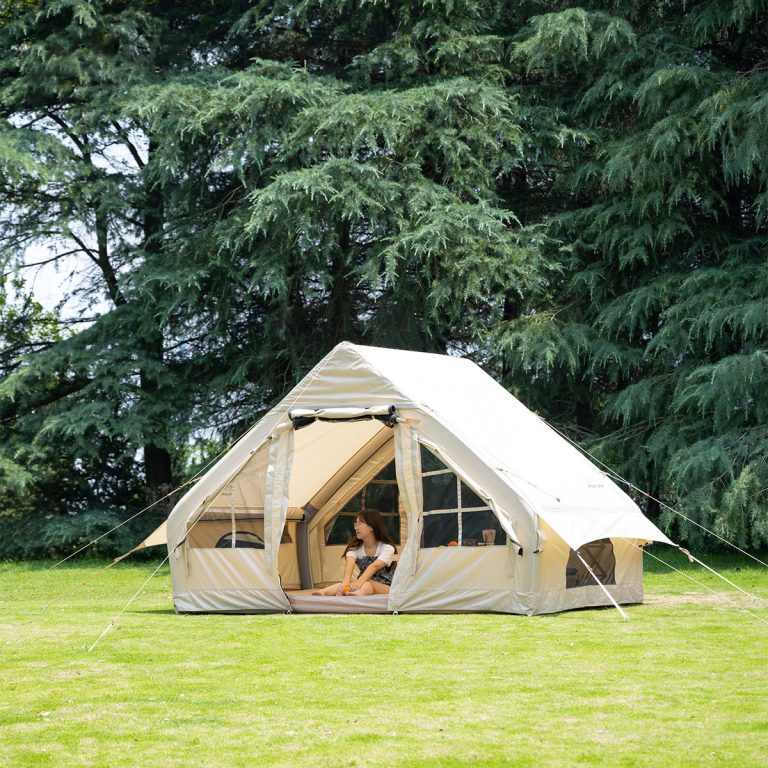
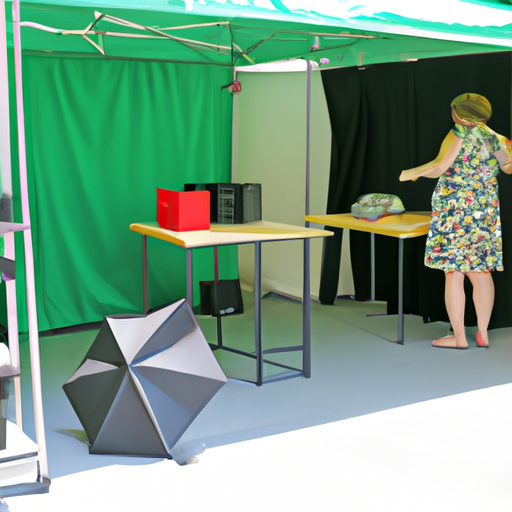
 With the tent standing and secured, it is time to add the sidewalls. Attach the sidewalls to the frame using the provided hooks or clips. Make sure that the sidewalls are properly aligned and taut to create a professional and polished look. If your tent does not come with sidewalls, consider purchasing them separately for added protection and privacy.
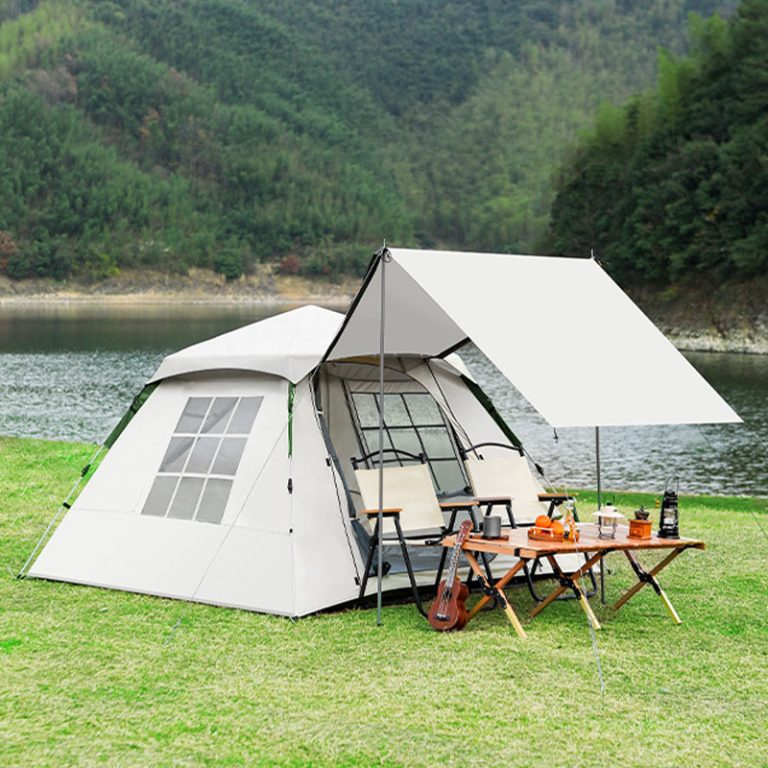
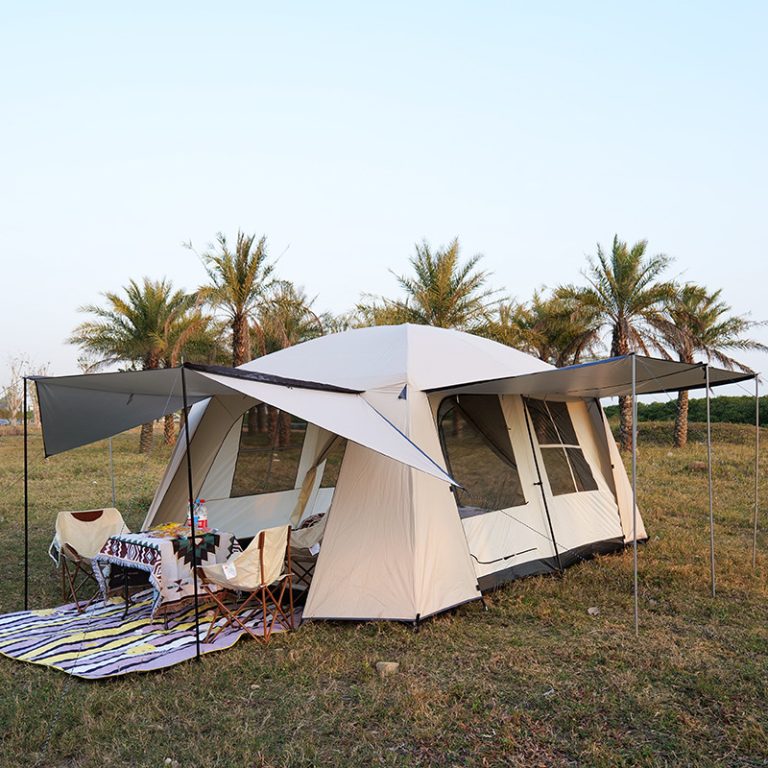
Now that the tent is fully assembled, it is time to set up the interior. Start by laying down a protective ground cover to prevent dirt and moisture from seeping into your display area. Next, arrange your tables, shelves, and other display fixtures in a way that maximizes visibility and accessibility for customers. Consider using tablecloths, banners, and signage to create an inviting and branded space.
Once the interior is set up, it is important to secure the tent further to ensure stability. Use additional stakes or weights to anchor the tent and prevent it from being blown away by strong winds. Consider using sandbags, water weights, or concrete blocks to provide extra support, especially if you are setting up on a hard surface.
Finally, take a step back and assess the overall setup. Make any necessary adjustments to ensure that everything is in place and looks professional. Test the stability of the tent by gently shaking it and checking for any loose connections or wobbling. It is also a good idea to have a backup plan in case of inclement weather, such as having extra tarps or a plan to move indoors if necessary.
In conclusion, setting up a vendor tent requires careful planning and attention to detail. By choosing the right location, assembling the tent properly, securing it firmly, and setting up the interior thoughtfully, you can create an inviting and functional space for your business. Remember to always follow the manufacturer’s instructions and prioritize safety when setting up your vendor tent.
With the tent standing and secured, it is time to add the sidewalls. Attach the sidewalls to the frame using the provided hooks or clips. Make sure that the sidewalls are properly aligned and taut to create a professional and polished look. If your tent does not come with sidewalls, consider purchasing them separately for added protection and privacy.
Now that the tent is fully assembled, it is time to set up the interior. Start by laying down a protective ground cover to prevent dirt and moisture from seeping into your display area. Next, arrange your tables, shelves, and other display fixtures in a way that maximizes visibility and accessibility for customers. Consider using tablecloths, banners, and signage to create an inviting and branded space.
Once the interior is set up, it is important to secure the tent further to ensure stability. Use additional stakes or weights to anchor the tent and prevent it from being blown away by strong winds. Consider using sandbags, water weights, or concrete blocks to provide extra support, especially if you are setting up on a hard surface.
Finally, take a step back and assess the overall setup. Make any necessary adjustments to ensure that everything is in place and looks professional. Test the stability of the tent by gently shaking it and checking for any loose connections or wobbling. It is also a good idea to have a backup plan in case of inclement weather, such as having extra tarps or a plan to move indoors if necessary.
In conclusion, setting up a vendor tent requires careful planning and attention to detail. By choosing the right location, assembling the tent properly, securing it firmly, and setting up the interior thoughtfully, you can create an inviting and functional space for your business. Remember to always follow the manufacturer’s instructions and prioritize safety when setting up your vendor tent.