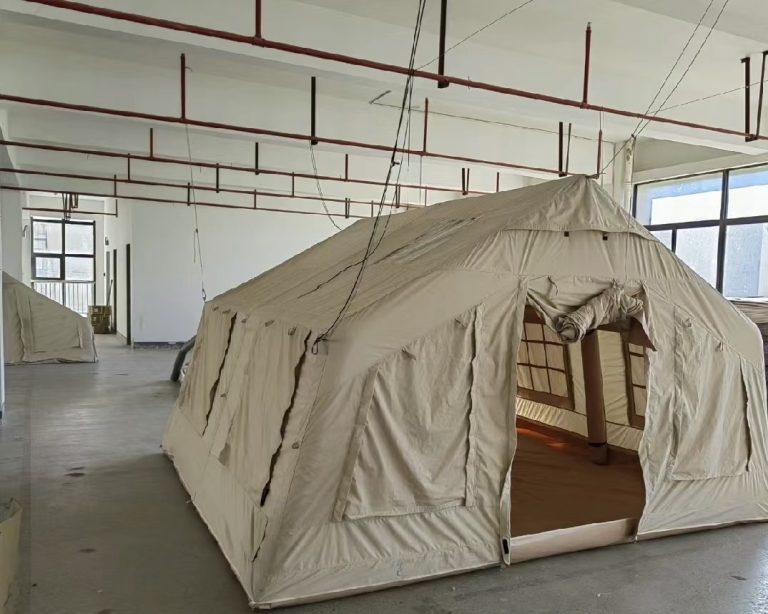
Step-by-Step Guide to Setting Up the REI Kingdom 6 tent
Setting up a tent can be a daunting task, especially if you’re not familiar with the specific model you’re working with. In this step-by-step guide, we will walk you through the process of setting up the REI Kingdom 6 tent. This spacious and durable tent is perfect for family camping trips or group outings. So, let’s get started!
First, find a suitable location for your tent. Look for a flat and level area that is free from rocks, sticks, and other debris. Clear the area if necessary to ensure a smooth setup. It’s also a good idea to choose a spot that offers some natural protection from wind and rain.
Next, unpack the tent and lay out all the components. The REI Kingdom 6 tent comes with a rainfly, tent body, poles, stakes, and guylines. Take a moment to familiarize yourself with each piece and how they fit together. This will make the setup process much easier.
Begin by assembling the tent poles. The REI Kingdom 6 tent features color-coded poles, which makes it simple to match them to the corresponding sleeves. Insert each pole into its respective sleeve, making sure they are fully inserted and secure. Once all the poles are in place, connect them at the top to form the tent’s frame.
Now it’s time to attach the tent body to the poles. Start by draping the tent body over the frame, ensuring that it is centered and aligned properly. Once in position, secure the tent body to the poles using the attached clips or sleeves. Take your time to ensure a snug and secure fit.
With the tent body in place, it’s time to add the rainfly. The rainfly is an essential component that provides additional protection from the elements. Simply drape the rainfly over the tent body, aligning the corners and edges. Attach the rainfly to the tent body using the provided clips or hooks. Make sure the rainfly is taut and properly secured to prevent water from pooling.
Now that the tent is fully assembled, it’s time to stake it down. Start by inserting the stakes through the loops or grommets located at the base of the tent and rainfly. Use a mallet or rock to drive the stakes into the ground, ensuring they are secure. Pay special attention to the corners and guylines, as these areas provide additional stability.
Once the tent is staked down, take a moment to adjust and tension the guylines. Guylines are essential for maintaining the tent’s shape and stability in windy conditions. Attach the guylines to the designated loops or hooks on the rainfly and stake them into the ground. Adjust the tension as needed to ensure a taut and secure setup.
Finally, step back and admire your handiwork. The REI Kingdom 6 tent is now fully set up and ready for your camping adventure. Take a moment to double-check that all components are properly secured and that the tent is stable. This will ensure a comfortable and safe camping experience.
In conclusion, setting up the REI Kingdom 6 tent is a straightforward process that can be easily accomplished with a little patience and attention to detail. By following this step-by-step guide, you’ll be able to enjoy the spaciousness and durability of this fantastic tent on your next outdoor excursion. Happy camping!
10 Stunning indian wedding tent decoration ideas Indian weddings are known for their grandeur and opulence, and one of the key elements that contribute to this is the tent decoration. The tent serves as the focal point of the wedding venue, creating a magical and enchanting atmosphere for the couple…
How to Assemble a Pillowfort A frame tent: Step-by-Step Guide Assembling a Pillowfort A frame tent is a simple and straightforward process. This step-by-step guide will help you put together your tent in no time. Step 1: Unpack the Tent Start by unpacking the tent and laying out all the…
The Benefits of Using a pop up tent with walls Pop up tents with walls have become increasingly popular in recent years, and for good reason. These versatile and convenient tents offer a range of benefits that make them a great choice for outdoor activities such as camping, picnics, and…
How to Choose the Right Tent for a Group of Five People: Tips and Considerations When it comes to camping with a group of five people, choosing the right tent is essential. Here are some tips and considerations to help you make the best choice: 1. Size: Make sure the…
The Benefits of a roof tent hard case: How to Protect Your Tent and Gear from the Elements A roof tent hard case is an essential piece of equipment for any outdoor enthusiast. It provides a secure and weatherproof storage solution for your tent and other camping gear, protecting it…
Essential emergency equipment for home Safety Emergency situations can strike at any time, and it is crucial to be prepared. Having the right emergency equipment at home can make all the difference in ensuring the safety of you and your loved ones. In this article, we will discuss some essential…
 Now that the tent is fully assembled, it’s time to stake it down. Start by inserting the stakes through the loops or grommets located at the base of the tent and rainfly. Use a mallet or rock to drive the stakes into the ground, ensuring they are secure. Pay special attention to the corners and guylines, as these areas provide additional stability.